|
Last week I talked about different styles of work flow depending on the camera and purpose of the images. Where my iPhone and Point-and-Shoot images are concerned, ‘Work flow for Fun’ rules the day: simple, low-risk, minimal post-processing. The goal is to get the images out there where they can be shared, and move on to the next thing. If the images get lost or deleted afterwards, it is no big deal. They have served their purpose. Sometimes I am asked to retrieve an image or a series, but that doesn’t happen often. Yes, I still save these images, but if they were lost, it would not be a big deal.
It is a different story with my ‘serious’ work - all the elements of work flow come into play when it comes to images produced on my DSLRs. The images are much larger, there is more post-processing, and the risk-reward dynamics of losing something become more significant. I may never go back to images that I took two or three years ago, but I still want the comfort of knowing they are there and that I can find and retrieve them easily. In theory, a work flow should look something like this:
I follow most of those steps, and for the ones that I don’t follow, I am keenly aware of the risks. After putting down my thoughts, I will be re-visiting the areas that are lacking, and coming up with new ways to fill in those gaps. As I examine my workflow, I find myself asking the questions “Why am I (still) doing that?” or “Why am I NOT doing something?” and “Is there a better way at this point?” In practice, here is what my workflow looks like: 1. Download images from camera Since I use a MAC (MacBook Pro) and I like to have control, I use the Finder Utility to drag and drop from the memory card to computer. I have folders set up by year, month, and camera. I do not rename the image files. The folder structure gives me a mental tracking device for the images, and it insures that files do not get overlaid if two cameras happen to create images with the same name. This could happen because each camera manufacturer has its own in-camera naming schemes. If you own two Canon cameras or two Nikon cameras, it is possible that you will duplicate names across the two cameras. 2. Make backup copies (take offsite) Here is where things start to fall apart. I do make copies, but I do not make an offsite backup. Originally, my scheme was to copy images to my Mac and to an external hard drive, and do my work on the images on the internal drive. Later, I switched to doing work on the external drive because I needed portability for school work. As long as I had plenty of room on my internal drive, this worked fairly well as a backup location. Now (“Why am I still doing that?”), I keep bumping up against the limits of my internal drive. So, I started deleting old images off the internal drive, and then started moving them to another networked computer. Soon I will be bumping up against the limits of that computer’s storage. And it does not address the issue of having offsite backup. My other backup scheme is to keep the memory cards. While this has a number of flaws, it gives me a small measure of security. Is there a better way at this point? Of course there is. It requires some time, discipline, and newer technologies. Time and discipline to clean out the old baggage and get rid of lots of old very bad and useless images. As time goes on and I add new images, the older ones become increasingly unattractive. Next time, I will pick up with the following steps: 3. Review, rate, and keyword images 4. Discard the ‘rejects’ 5. Apply post-processing changes as required 6. Save and backup the ‘keepers’ In the meantime, Apple used to have “Mobile Me” - I never used that service, and I believe it has been discontinued. The point is, it provided a ‘cloud’ solution for backup. I think I am ready for the cloud, so if anyone has suggestions or favorites or places to avoid, please drop me a line and share your thoughts. ~ Joanne
2 Comments
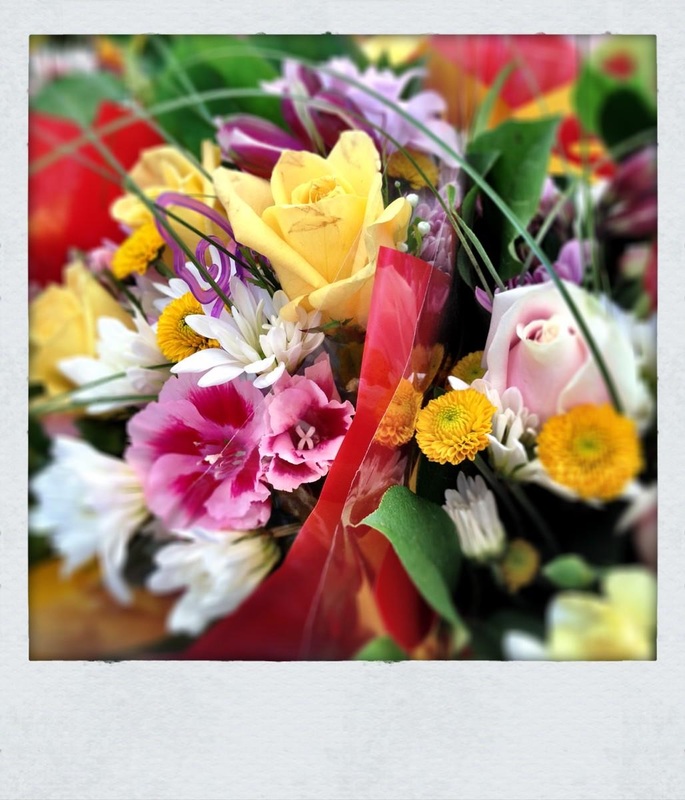 Flowers from the French Market Have you ever been told that you have really nice photographic images, followed by the dreaded comment “you must have a really nice camera?” Or worse yet, admired another photographer’s work and thought “if I only had a nice camera like he/she must have.” Perhaps you have admired those photographers whose websites list all the camera gear that they used in a particular photo shoot, or maybe there was some envy involved, or just a feeling of being turned off. Those are just a few examples of why camera gear really isn’t all that important. Some of the greatest images have been made with a home-made pinhole camera, or a smart phone, or without a camera or lens of any sort at all.
There is so much more to creating great images than spinning a few dials and clicking the shutter button. So why IS camera gear important? To illustrate, let me say that my own camera collection includes both film and digital cameras, point-and-shoots, and SLRs. Some of them spend most of the time in the drawer or closet, and others are with me or close at hand all the time. I seem to have compartmentalized what cameras I use for which purposes. This blog-post deals with the informal, every-day snapshots and the camera gear I use most often for those. Later on, I will continue this thread with my “big” cameras. My iPhone (which has 2 cameras), and point-and-shoot are always with me - either in a pocket, purse, or on my belt. These are my “walking around” cameras, my security blanket in case I see something great that I need/want to capture. Their main advantage is small size and unobtrusiveness. The images are mostly documentary - I was at a Lions Club meeting or American Legion event, or with a friend or family member, or in the forest preserve walking the dogs. You get the idea. The relatively small image size and file type (jpeg) are suitable for sharing on social media and via e-mail, as well as useful for creating collage-type display boards. They are great publicity for the Lions Clubs, and appear frequently in Club, District, and State newsletters and magazines. The iPhone photos are particularly well-suited for sharing on the Roselle Lions Facebook page https://www.facebook.com/RoselleLionsClub and website http://www.e-clubhouse.org/sites/roselle/index.php. So, my everyday camera gear is light-weight, easy to carry around, and most suitable for snapshots of everyday life. Digital technology for the point-and-shoots and smart-camera phones has come a long way since they first appeared on the scene. They are not my only camera gear, but they are a very important part of my life as a photographer. 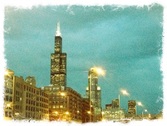
Chicago Skyline 1, ©2012 Joanne Barsanti
I usually have at least two “walking around” cameras with me: my digital point and shoot Lumix DMC-ZS3, and my iPhone 4s, which also serves as a communication device. I can easily throw them in my purse (special side compartments for each) or stash them in my pocket. Either place provides quick and easy access for whatever visual image comes into view, whether it be a street scene, sunrise, sunset, or other subject of interest. I am ready. And so it was on a recent trip to Chicago, riding on the Dan Ryan Expressway, I found myself face to face with the beautiful evening Chicago skyline. I quickly grabbed both cameras and took as many shots as I could before the skyline disappeared from view.
The added beauty of the iPhone is the extensive range of creative pre- and post-process apps, not to mention the ease of sharing. Click, tap, tap, tap, send. Done. One of the images, Chicago Skyline 1, shown above, will be part of the upcoming exhibit iPhoneography: Updated Visual Dialogs, opening March 8 at The Lunch Box Gallery in the Wynwood Art District of Miami. The concept for the exhibit was inspired by Chase Jarvis, who said “The best camera is the one that’s with you.”™ What do you think about iPhoneography and its place in the world of serious photography? I would love to hear your thoughts.  I took advantage of our first real snow of the season, and headed out to the Schaumburg Prairie Arts Center for some scenic shots. A cute little foot bridge over cold clear water and some texture in the tree to the left should do nicely. I had heard that the iPhone app Camera+ has some nice features, and I wanted to try them out on my iPhone 4s. This is the 'before' image - no special effects or post-capture processing were applied. Retro: cyanotype effect  After capturing the image, I selected the Clarity adjustment. It may be hard to tell in these thumbnail versions, but it did sharpen things up nicely. Then I tried all of the Retro effects, all of the Color effects, and all of the Special effects. Needless to say, the options were plentiful. In general, the 'grunge' effects were interesting, but for this image I liked the cyanotype and the HDR effects the best. I added a black border to enhance the retro feel. In a future blog entry, I will compare the Camera+ cyanotype with the cyanotype preset out of LightRoom 4 beta, just for kicks.  HDR Effect Having already set the Clarity and the thick black border, it took only seconds and one click of a button to achieve this HDR effect. It felt kind of like 'cheating' but I like the outcome. |

Archives
July 2020
|
 RSS Feed